1. Ensure MiCC is on version 9 or higher
Version 9.0 (or higher) of MiCC is required for access to the Open Media API. Web Ignite is also required. Multimedia licences are required for agents.
All versions of Mitel CX are supported.
2. Apply TLS certificate to MiCC/MCX server
You must provide a TLS CA certificate and provide an FQDN for the server.
3. Talkative connection to MiCC/MCX
Talkative needs to send HTTPS requests through to MiCC. To do this, Talkative recommends port forwarding. Only port 443 will be required by Talkative. The traffic will be REST HTTPS requests to the "MiCC SDK" API interface. An out-of-range port can be used, and one locked down to the Talkative IP (in AWS). No sensitive data will be sent via this route. Talkative operates multiple instances, please use the correct IP addresses from the list below for your region.
If you are also whitelisting the MiCC SDK URL, please note that the request is sometimes made with to trailing slashes. for example a post request may be made with two slashes after the domain as per the following example. Please an an exclusion rule for both a single and double slash. This is an erroneous entry which is maintained for backwards compatibility for other users which have accounted for this.

https://yourserver.com//authorizationserver/token
Europe: Requests will originate from 3.8.11.116 AND 3.8.226.26 - please add both IP addresses.
USA: Requests will originate from 3.20.102.7 AND 3.20.102.37 - please add both IP addresses.
Australia: Requests will originate from 13.55.255.55 AND 13.55.255.70 - please add both IP addresses.
More regions are being added soon, please contact Talkative for more details.
4. MiCC/MCX Open Media Config
- Create an OpenMedia media server.
- Create OpenMedia agents.
- Create OpenMedia queues and assign groups.
- Create OpenMedia workloads for agents.
- Adjust Inbound and in-queue workflows to client needs.
- Authorisation of the Talkative client within MiCC.
NB: When creating Queues, please make sure you select the “Validate Workflow” option from the Properties Tab. If this is not selected, the changes you make will not be published and the Queue will be unable to receive interactions from Talkative. This option must be selected for “Inqueue Workflow” and “Agent Workflow”.

To set up an OpenMedia queue:
- Inside YourSiteExplorer open the "Queues" menu (which can be located under the Multimedia tab on the left).
- Click "Add" and then select "Open Media Queue”.
- Fill in the "Name" and "Reporting Number”.
- Under "Inqueue Workflow" right click "Offer To Primary Agent Group" then select "Agent Group" and then select the OM agent group you created earlier.
- Still under "Inqueue Workflow", in the properties tab of the right must then tick "Validate Workflow”.
- Lastly, save the new queue (rest of the settings can be left default or customised however you like).
Once the OpenMedia queue is set up make sure that it is also attached as the last resort queue on the OM Media Server. This is done by navigating to the "Media Servers" page. Select the Open Media server, then right click on the "Routing Failure Destination Transfer" tool in the inbound workflow and then set the newly created queue as the destination.
To authorise the client:
Find C:\Program Files (x86)\Mitel\MiContact Center\WebSites\AuthorizationServer\Configuration\Clients.config
Add a value for Talkative. Example:
{
"Id": "Talkative",
"Secret": "********-****-****-****-********"
}
After this value has been added, you should restart the IIS server and recycle the app pool for authorisation service.
The Secret key is in Version 4 UUID format and is unique to each organisation. Talkative will provide you with a Secret key via email (support@talkative.uk ) or you can create your own UUID here: https://www.uuidgenerator.net/version4
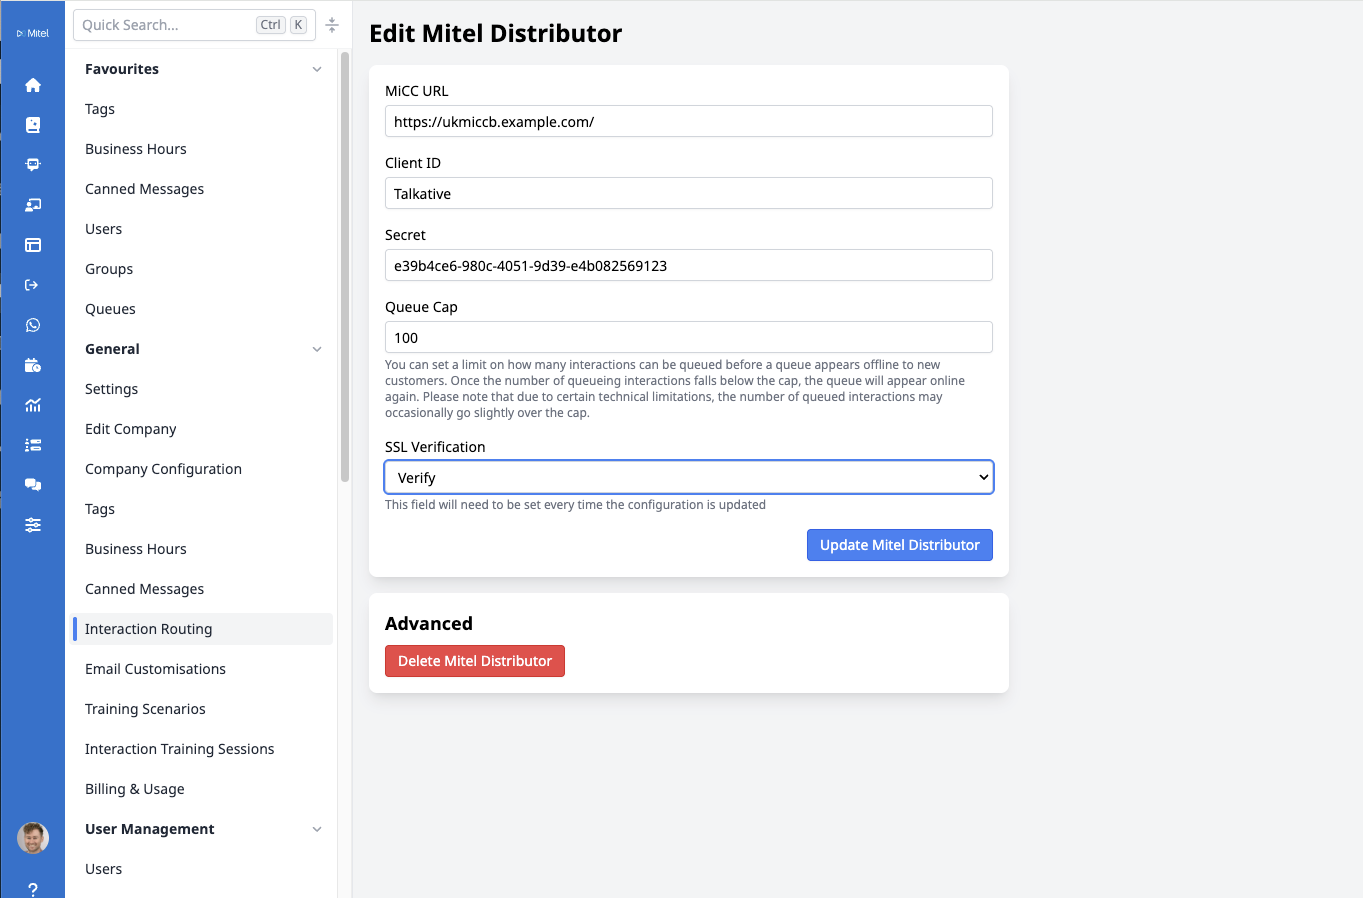
Within Talkative, visit https://eu.engage.app/company/distributor-configs/create (accessed via Company Manager -> Distributor Config -> Mitel) or the same link within other regions, i.e. North America: https://us.engage.app/mitel-company-distributor-configs/create or ANZ: https://au.engage.app/company/distributor-configs/create
- Enter in your MiCC/MCX URL
- Enter Talkative as the Client ID
- Enter Secret Key
- Enter a Queue Cap (any positive integer will suffice e.g. 10)
- Press submit and this will complete the authorisation process.

Once the connection is set up, navigate to https://eu.engage.app/mitel/user-distributor-configs (or us.engage or au.engage) to correlate Talkative accounts with MiCC/MCX accounts:
Note: this setting is optional, but recommended.

You will also need to correlate Talkative queues with MiCC OM queues in the Queues section of Talkative under the "Router Queue" dropdown:
You will now be able to proceed with the rest of the Talkative set up within the application, such as creating chat widgets, setting business hours etc.
Troubleshooting
Issue: When creating an interaction, a successful response is received from MiCC but the interaction does not get assigned to an agent and is not visible in any queues.
Solution: Revisit step 4 of the Open Media queue set up process. This problem usually occurs when the “Validate Workflow” checkbox has not been ticked when creating a new OpenMedia queue. Ensure this checkbox is ticked and resolve any validation errors that appear.
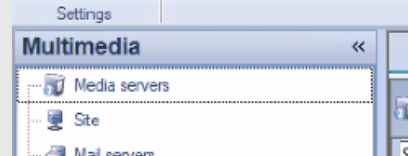
Be sure to navigate to Multimedia > Media servers

Issue: Queue does not appear online in Talkative Engage
Solution: Check that the Queue has been assigned to the relevant Agent Groups within MiCC. The assigned groups will appear as Members under the General tab on the relevant queue.

Was this article helpful?
That’s Great!
Thank you for your feedback
Sorry! We couldn't be helpful
Thank you for your feedback
Feedback sent
We appreciate your effort and will try to fix the article